
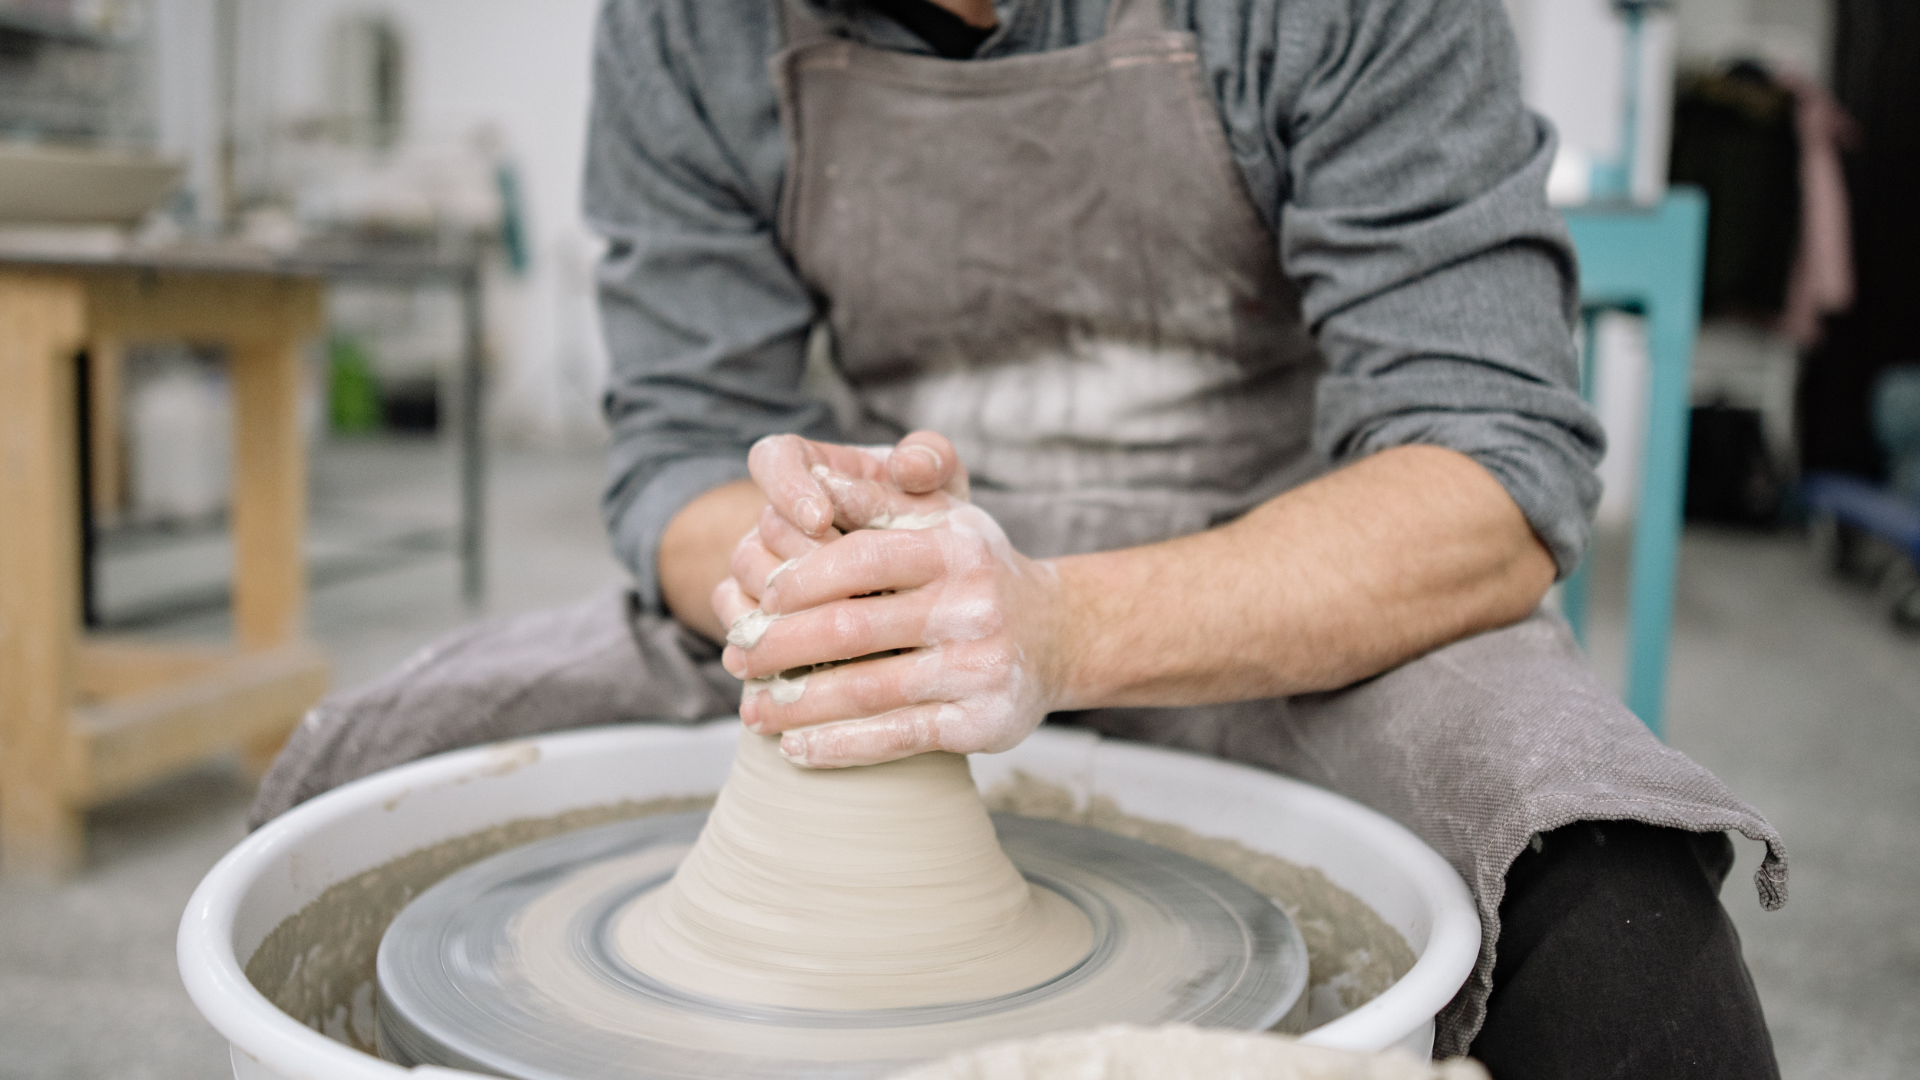
How to Start Pottery at Home with Minimal Tools: A Beginner’s Guide to Creating Beautiful Clay Creations
Starting pottery at home can seem daunting, but it is entirely possible with just a few fundamental tools. With minimal investment, anyone can create beautiful pottery pieces by focusing on basic techniques and materials. This art form not only allows for self-expression but also provides a satisfying hands-on experience.
For beginners, essential tools such as a rolling pin, basic sculpting tools, and a sturdy work surface are more than enough to get started. By utilizing air-dry clay or oven-bake clay, individuals can bypass the need for a kiln and still achieve impressive results. Incorporating simple methods like hand-building or coil techniques can help in crafting functional and decorative items.
Experimentation plays a key role in pottery making. As she works through the process, she will discover her style and preferences, making the practice increasingly enjoyable. Engaging in pottery offers a creative outlet that can be both relaxing and fulfilling.
Essential Tools and Materials for Starting Pottery at Home
Getting started with pottery at home requires a few essential tools and materials. Understanding the right clay, the minimal tools needed, and alternative equipment will help beginners set up a productive workspace.
Choosing the Right Clay
Selecting the right clay is crucial for pottery beginners. Soft clay is often recommended for novice potters because it is easier to mold and shape. Two popular types of clay are earthenware and stoneware.
- Earthenware: This clay type is porous and fired at lower temperatures, making it accessible for beginners.
- Stoneware: More durable and fired at higher temperatures, this clay is great for functional pieces but may require more skill.
Experimenting with different clays can help locate the best fit for individual projects or techniques.
Minimal Pottery Tools You Need
A few basic tools will equip beginners to start their pottery journey. Key tools include:
- Potter’s Wheel: If budget allows, a simple wheel can enhance the shaping process.
- Throwing Sticks: Useful for shaping and trimming wet clay.
- Wire Cutter: Essential for cutting clay blocks or removing pieces from the wheel.
- Sponge: For smoothing surfaces and managing moisture.
These tools allow for various methods, including hand-building and wheel throwing. A few well-chosen items can streamline the creation process and foster creativity.
Alternative Equipment for Beginners
There are several alternative options for beginners who may want to start with limited resources.
- Hand-building Techniques: Tools such as simple rolling pins or even household utensils can assist in shaping clay.
- Homemade Tools: Items like kitchen sponges, plastic knives, or bamboo skewers can serve as alternatives for smoothing or detailing.
- Basic Kiln Alternatives: While a kiln is ideal, beginners can experiment with oven-baking certain clay types designed for home use.
Utilizing these accessible tools can still yield impressive results without the need for a full pottery setup.
Step-by-Step Guide to Creating Pottery with Minimal Tools
Creating pottery at home without extensive tools is achievable with the right approach. This guide outlines essential steps, from preparing the clay mixture to shaping techniques and the drying process.
Preparing Your Clay Mixture
Start with choosing a suitable clay type, such as earthenware or stoneware. Earthenware is beginner-friendly and often used for home projects.
- Gather Materials: Obtain clay, water, and a flat surface for mixing. A clean workspace is essential.
- Mixing: Knead the clay thoroughly to eliminate air bubbles. This can be done by hand or with a simple rolling pin.
- Moisture: Adjust consistencies by adding water gradually. The clay should be workable but not too wet.
- Store Properly: Keep unused clay wrapped in plastic to prevent drying out.
This preparation ensures an optimal medium for pottery making.
Shaping Techniques Without a Pottery Wheel
There are effective methods to shape clay without a pottery wheel. These techniques utilize common household items.
- Hand-Building: Use fingers and thumbs to pinch or coil clay, forming basic shapes like bowls or mugs.
- Slab Technique: Roll out slabs of clay with a rolling pin. Cut shapes using a knife or cookie cutter, then join the pieces by scoring and using slip (wet clay).
- Molds: Create forms using non-porous materials. Line the mold with clay, pushing it into shape, then carefully remove when dry.
These methods provide versatility in pottery making, allowing for creativity.
Drying and Preparing for Firing
Once shaped, drying is crucial. Careful attention must be paid to avoid cracks.
- Initial Drying: Allow pieces to air dry for 24 hours. Turn them periodically to ensure even drying.
- Leather Hard Stage: When clay becomes firm yet slightly moist, it’s ideal for refining shapes or adding details.
- Final Drying: Let the pottery dry completely before firing. This can take several days, depending on the size and thickness.
- Firing Preparation: Ensure all pieces are free from moisture and stored safely for the kiln or oven.
Proper drying and care set the stage for successful pottery firing.
Firing and Finishing Your Handmade Pottery
Firing and finishing are critical stages in pottery making that ensure the durability and aesthetic appeal of handmade pieces. Understanding the available methods and techniques can help achieve desired results while keeping safety in mind.
Home Firing Options and Safety
Firing at home can be achieved using several methods, each with unique requirements. Traditional kilns offer the best results but require more investment and space. For those with limited resources, a make-shift pit kiln can be constructed outside. It needs proper ventilation and safety precautions to manage smoke and fumes.
Considerations for safety include the use of heat-resistant gloves and goggles. Always have a fire extinguisher nearby and ensure sufficient ventilation to minimize inhalation of harmful fumes.
Using Electric Kilns Effectively
Electric kilns provide a controlled environment for firing pottery. It is important to choose one with sufficient capacity for the projects at hand.
When using an electric kiln, she should follow these steps:
- Load the Kiln Properly: Space items evenly to allow for heat circulation.
- Set the Correct Temperature: Different ceramics have specific firing temperatures. Stoneware typically requires higher temperatures than earthenware.
- Monitor the Firing Cycle: Keep an eye on the firing process to avoid issues such as overheating or uneven firing.
By managing the firing schedule carefully, the pottery will achieve strength and proper vitrification.
Basic Glazing and Decoration Tips
Glazing adds an attractive finish and protects pottery. Basic glazing techniques can enhance the visual impact of handmade pieces.
- Choose the Right Glaze: Select a glaze compatible with the clay body. For stoneware, high-fire glazes are often preferred.
- Application Techniques: Glazes can be applied using a brush, dipping, or pouring. Ensure an even coat to avoid drips and uneven surfaces.
- Experiment with Decoration: Techniques such as sgraffito or underglaze can add depth and detail. Testing different methods on small pieces helps in perfecting skills before applying them to larger works.
With these methods, she can achieve beautiful and functional pottery pieces.